Do you want to connect all of your most valued resources and use Rocket.Chat as your communication hub?
Fantastic idea!
The stumbling block: you have limited development expertise and you simply cannot get Rocket.Chat's incoming and outgoing integrations to work for you.Our solution for you: Rocket.Chat's Zapier Integration.What exactly is Zapier?Zapier is an online service that helps all of your applications work together.A Zap is an automated workflow that connects two or more apps; when something happens in one application, an action is triggered in another. Zaps can be simple or as complicated as you need them to be.Zapier provides an incredibly flexible and powerful infrastructure that makes connecting Rocket.Chat to other applications easy and intuitive.Our Zapier application is in invite-only status. However, once we reach at least ten active users, we will then be able to apply for public beta. Public beta will allow anyone to see our application listed on Zapier's directory, which already contains more than 750 that you can connect to.
Getting started
Before we get started, please ensure that your Rocket.Chat server's version is at least v0.49.3.Once this is verified, getting started is easy. You will need a Zapier account to start using it, so if you don't already have one then head on over and create a free account now. Once your Zapier account is ready, log into your Zapier account and click this invitation link. You will see an invitation screen which looks like the screenshot below:

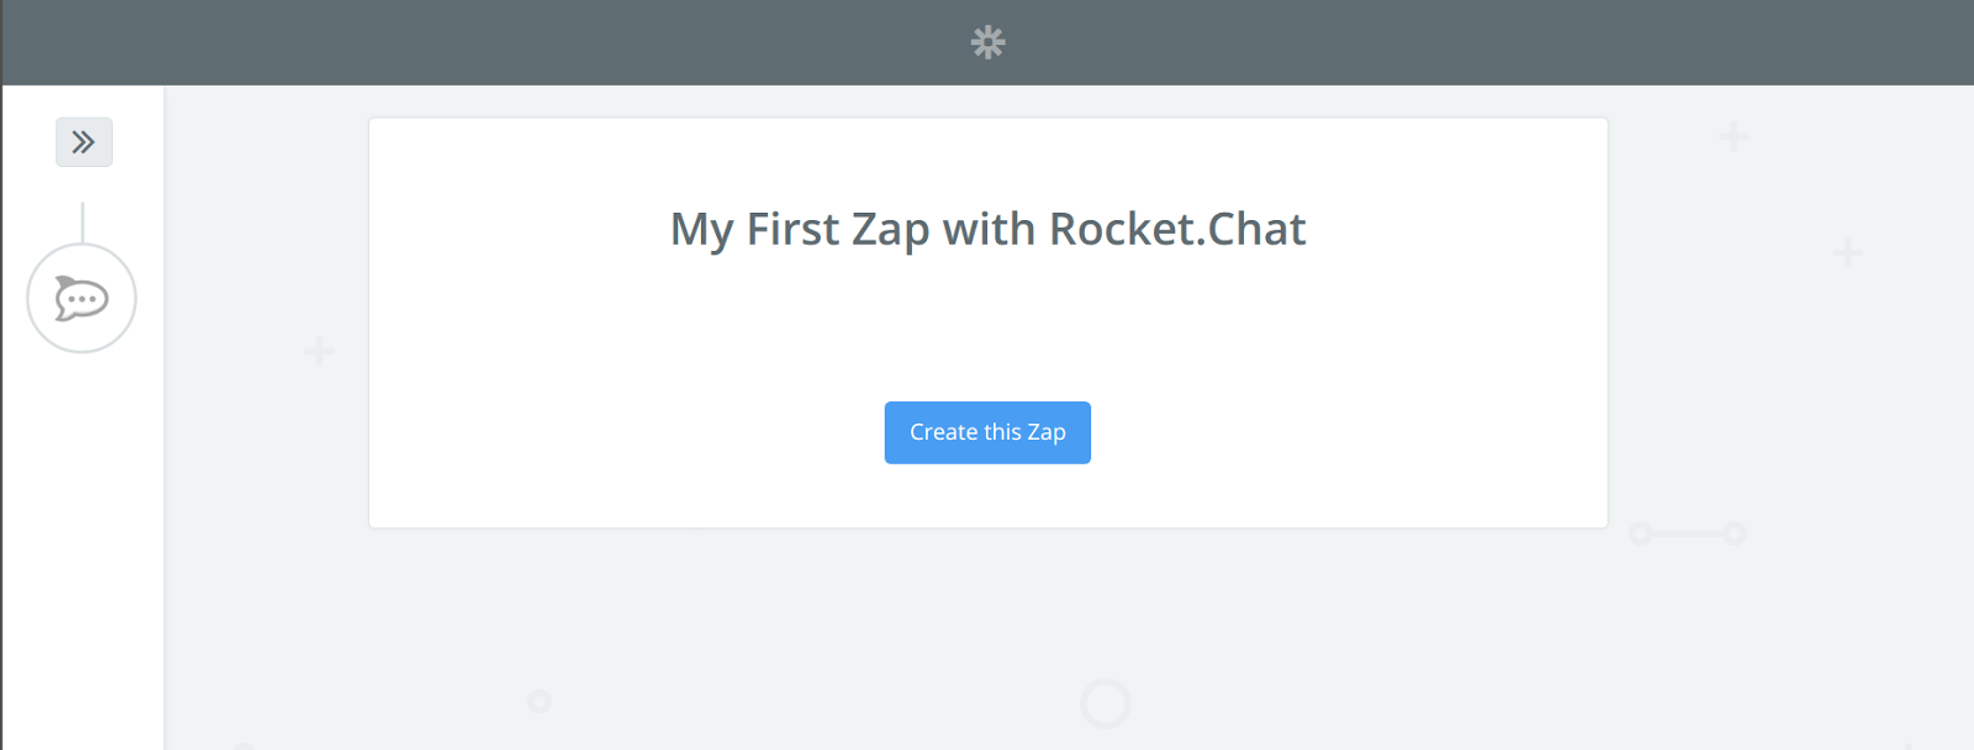
Press the orange "Accept Invite & Build a Zap" button to add the invite-only application to your Zapier account.Note: You will not be able to see Rocket.Chat in the application directory until you accept this invite or until our Zapier application goes into public beta.After you click to accept, you will be taken to the following screen:
Creating your first Zap
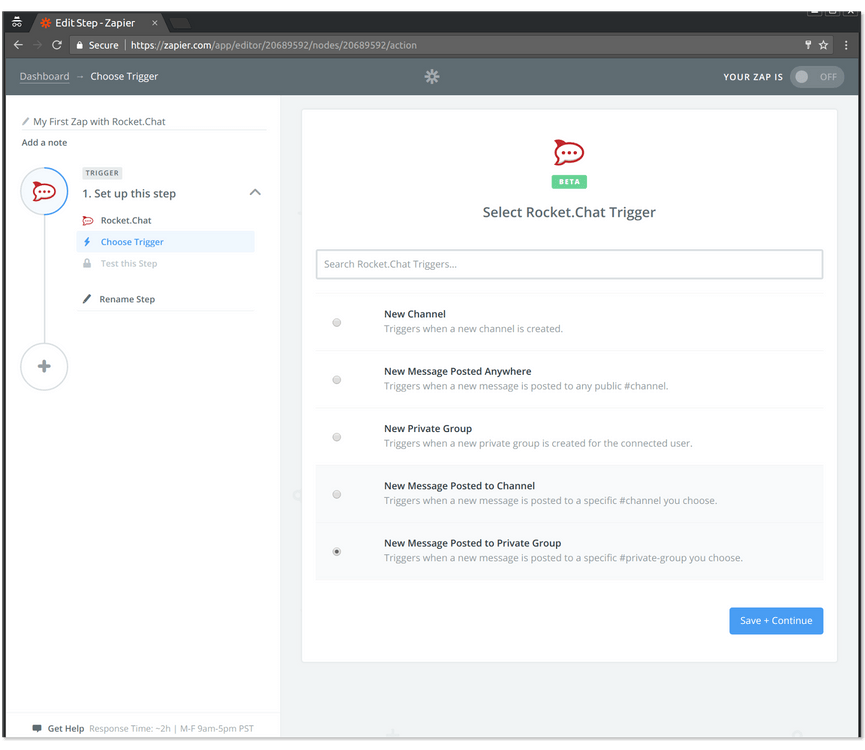
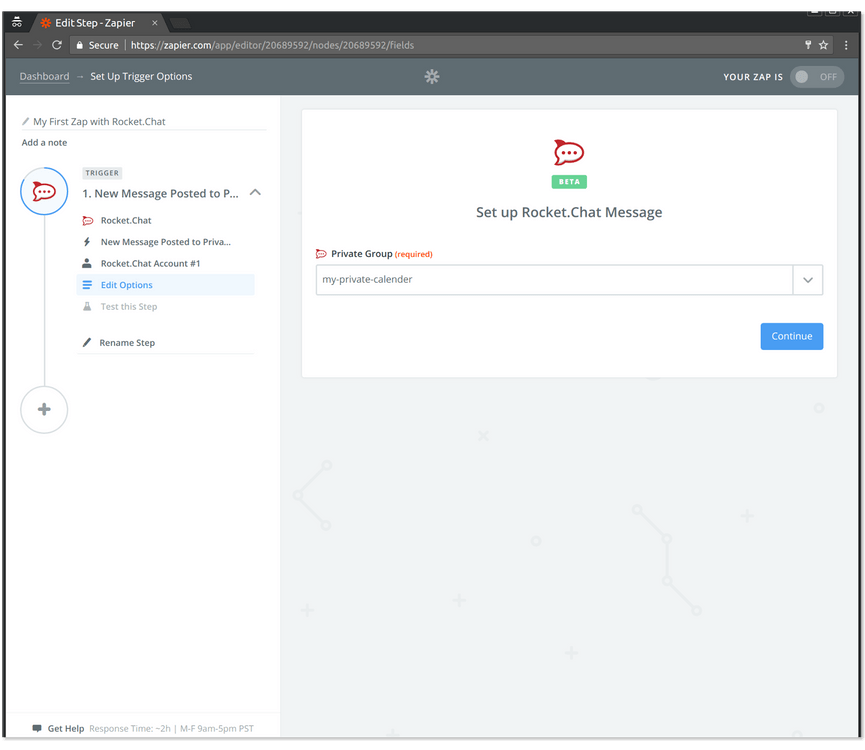
Now that you have accepted our invitation, let's create your first Zap with Rocket.Chat. We will connect Google Calendar and create an event whenever you say a phrase like "calendar Zapier Review tomorrow at 4pm" in a private channel.Until further notice, please follow the steps listed on our Zapier Documentation to ensure your Zapier settings inside Rocket.Chat are up to date.First up, select the Rocket.Chat application and then select the "New Message Posted to Private Group" trigger as seen in the following screenshot:
Click "Save + Continue" and you will then be asked connect your Rocket.Chat account to Zapier.Click on "Connect a New Account" then enter the domain where your Rocket.Chat is accessed publically from and include the last slash.In this example, I will use "https://zapier-test-1.rocket.chat/" as my domain.If you click continue and are not currently logged into your Rocket.Chat you will be brought to a login screen.After you login, or if you were already logged in, you will be presented with the following screen:
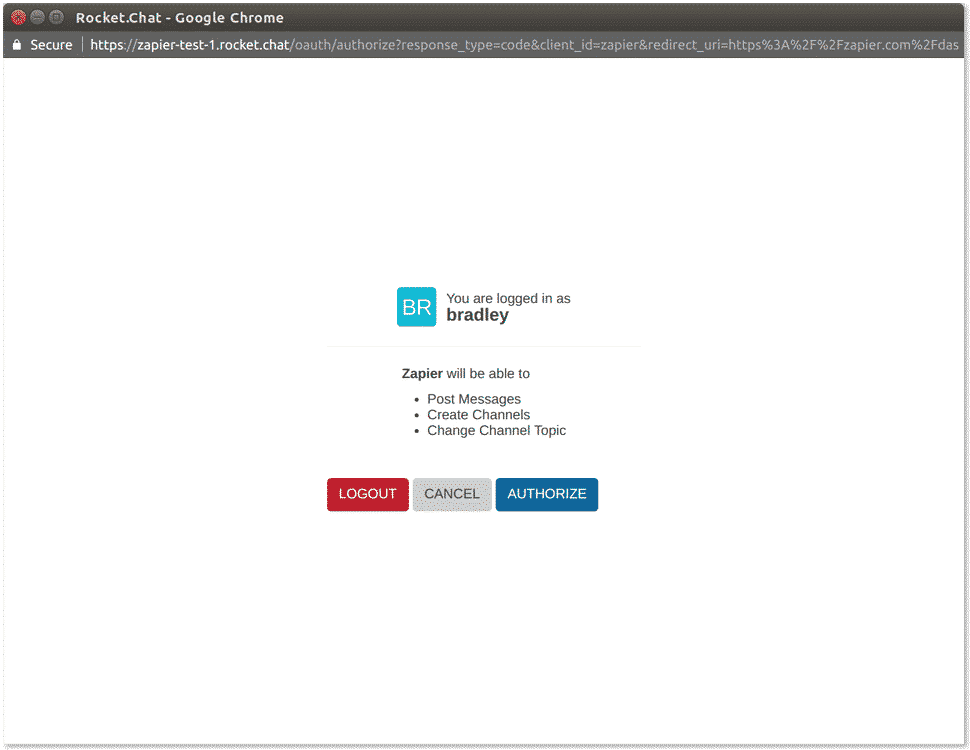
Click the "Authorize" button and your Rocket.Chat account will now be connected to Zapier. Now, click the blue "Save + Continue" button on Zapier to select the private group you want to use. Note: The private group should already exist.

Click on the blue "Continue" button.Now click on the blue "Connect & Continue" button: Zapier is now waiting for you to send a new message inside the private group you selected.I would recommend that you send something like "calendar Zapier Review tomorrow at 4pm".Once this is complete and Zapier sees your message, click on the orange "Continue" button. This is where Zapier tells you that your Zap is lacking an "Action" step, go ahead and click the link prompting you to add one now.The first step is to ensure the message Zapier is handling starts with "calendar", so the first action we need is the "Filter". Once you have that selected, the "Only continue if" will appear. Click the blue "Save + Continue" button and fill it out like the screenshot:
The message's text -> (Text) Starts with -> calendarOnce completed, click on the blue "Continue" button.Then click the blue "Test Filter" button and ensure it passes. If it does, then click the gray "Add a step" button.We now need to remove the "calendar" text so that Google doesn't try to parse that text.We do this with Zapier's "Formatter" Action. Click on that one and then select the "Text" action:
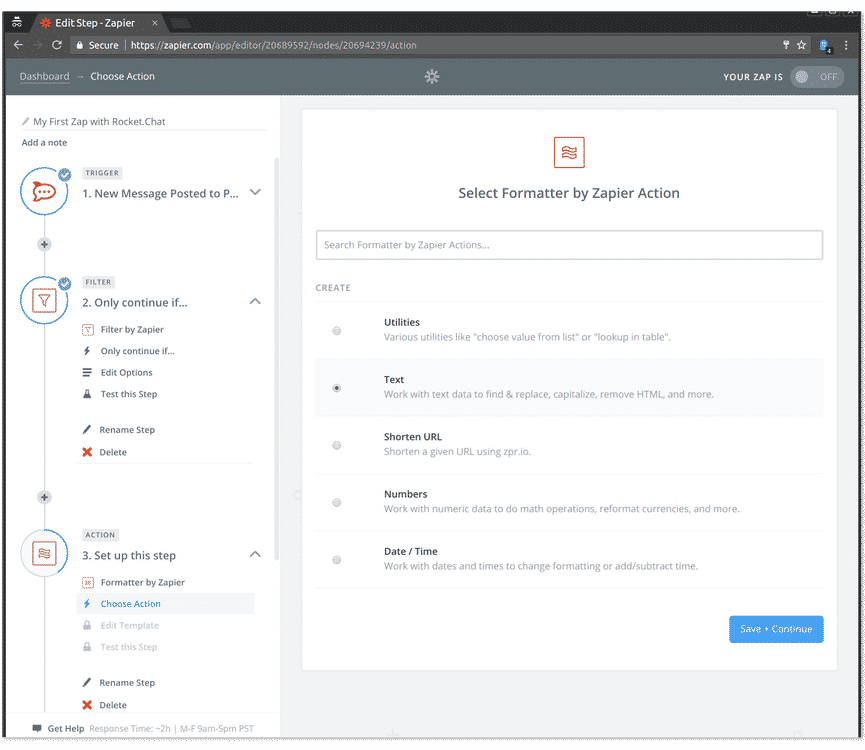
Click on the blue "Save + Continue" button. Go to the "Transform" drop down and select the "Replace" option. Fill it out with something similar to the following screenshot:
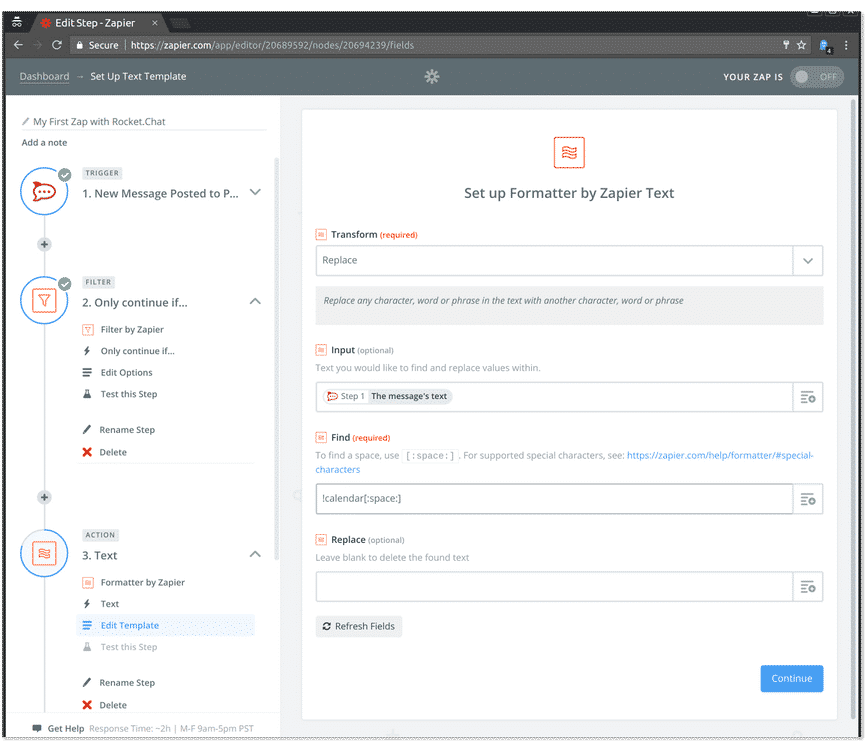
The input field should be the message from Rocket.Chat's event and the find should be the value "calendar[:space:]".Click the blue "Continue" button. On the next screen, click the blue "Create & Continue" to verify it correctly removes the "calendar" text.Once that is successful, then click the gray "Add a step" button.Since we are going to connect Google Calendar, search for and select Google Calendar.
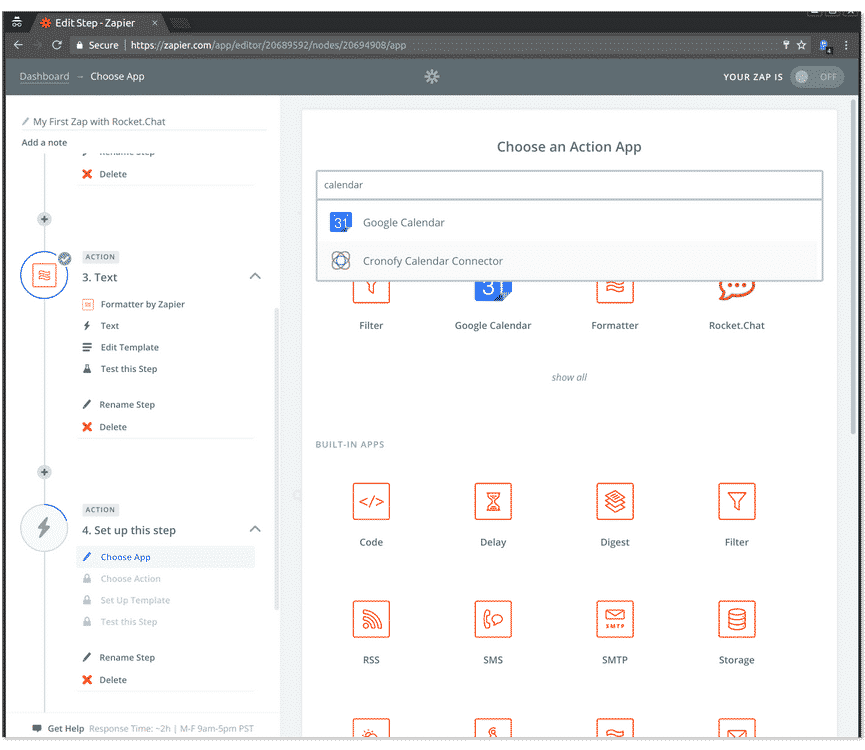
Since we are wanting to create a new event via a message, select the "Quick Add Event" action and then click the blue "Save + Continue" button.
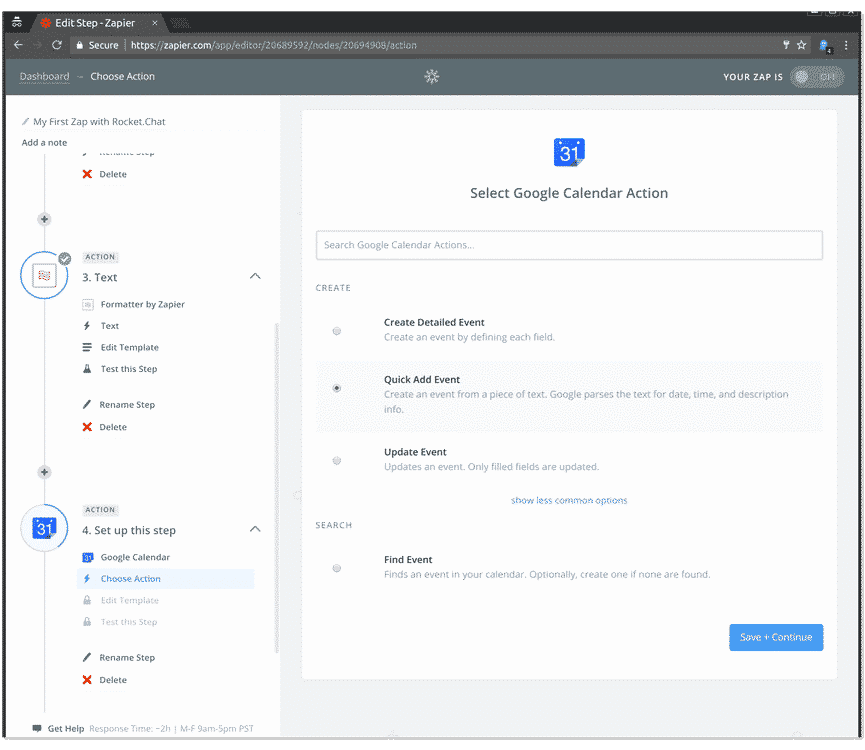
Connect your Google Calendar account if you don't have one already.Once your account is connected, click the blue "Continue" button. The Google Calendar "Quick Add Event" details screen should now be visible. Select the calendar you want the events to be created on.Then, on the "Describe Event", click the input field's right icon and from the drop down select Step 3's "Text" option:

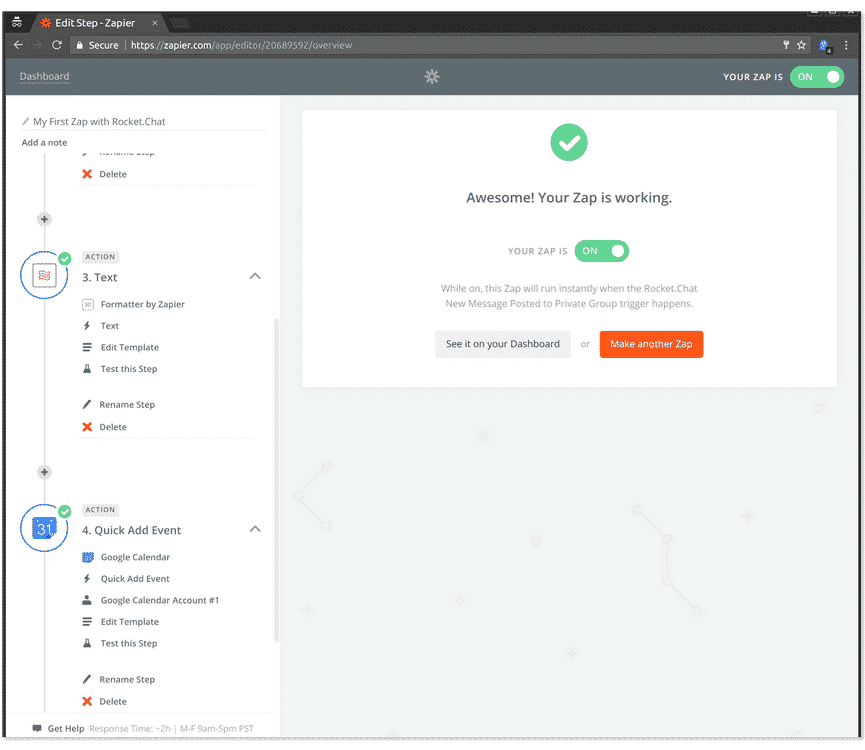
Once you've done that, click the blue "Continue" button.On the next screen click the blue "Create & Continue" button, verify your event was successfully created and click the orange "Finish" button.Now you can turn your Zap on and use it to schedule meetings on your calendar. Awesome!
We look forward to hearing all the different applications you connect together to bring your data in and out of Rocket.Chat! You can let us know via Facebook or Tweet us @Rocket.Chat.
Frequently asked questions about <anything>


- Digital sovereignty
- Federation capabilities
- Scalable and white-labeled


- Highly scalable and secure
- Full patient conversation history
- HIPAA-ready

for mission-critical operations
- On-premise and air-gapped ready
- Full control over sensitive data
- Secure cross-agency collaboration
%201.svg)

- Open source code
- Highly secure and scalable
- Unmatched flexibility


- End-to-end encryption
- Cloud or on-prem deployment
- Supports compliance with HIPAA, GDPR, FINRA, and more


- Supports compliance with HIPAA, GDPR, FINRA, and more
- Highly secure and flexible
- On-prem or cloud deployment


.avif)


